Study guide · dental nurses & assistants
Most dental nurses and assistants learn instruments from an alphabetical list, and then forget them. In the surgery nobody asks for the instruments in alphabetical order. They ask for them tray by tray. This guide follows the trays: for each of the seven everyday procedures it shows what is set out, what each instrument does and how to tell it from its neighbours.
Every dental instrument has three parts: handle, shank and working end. Learn its name, its number and the one job it does. Then learn the instruments as tray set-ups: examination, local anaesthesia, rubber dam, restorative, endodontic, extraction and minor oral surgery. That is the order they are used in, and the order you will be asked for them.
How to learn dental instruments (and pass the instrument spotter)
Instrument tests in dental nurse training are usually spotters: an instrument on a tray, and you name it and say what it is for. Three habits make this easy.
| Habit | What to do | Example |
|---|---|---|
| Look at the three parts | Handle (grip), shank (the bend between handle and tip) and working end (the part that does the work). The working end tells you the family; the shank tells you where in the mouth it reaches. | A thin, pointed, curved working end is an explorer. A blunt tip with millimetre marks is a periodontal probe. |
| Learn name + number + job | Say all three together every time. The number is how the dentist will ask for it. | “Explorer 23, caries and margins.” “Fig. 17 forceps, upper right molars.” |
| Learn by tray, not by alphabet | Group instruments by the procedure they are set out for. Each tray has a logic: look, numb, isolate, cut, fill, finish. | The restorative tray goes excavator → hand cutting instrument → plastic instrument → plugger → carver/burnisher. |
Names also hide clues. Gracey, Lucas, Tofflemire, Mathieu and Minnesota are designers or places; CP-15, Fig. 17 and 23 are pattern numbers. Once you know the family, the number only tells you the size, side or marking.
Tray 1
The examination tray
Set out for every new patient and every check-up. Mirror, explorer, probe and tweezers are the four instruments that appear on almost every other tray as well, so learn these first.
| Instrument | What it does | How to recognise it |
|---|---|---|
| Mouth mirror + handle | Indirect vision, retracting the cheek and tongue, reflecting light | Round head; a cone-socket thread screws into the handle |
| Explorer (probe 23 / sickle probe) | Feels for caries, calculus and rough restoration margins | Sharp, thin, curved or angled tip |
| Periodontal probe (CP-15, WHO, Williams) | Measures pocket depth in millimetres | Blunt, round tip with markings |
| Nabers probe | Checks furcation involvement on multi-rooted teeth | Curved, blunt, often with 3 mm marks |
| College tweezers | Carries cotton pellets and small items in and out of the mouth | Angled, serrated tips; may lock |
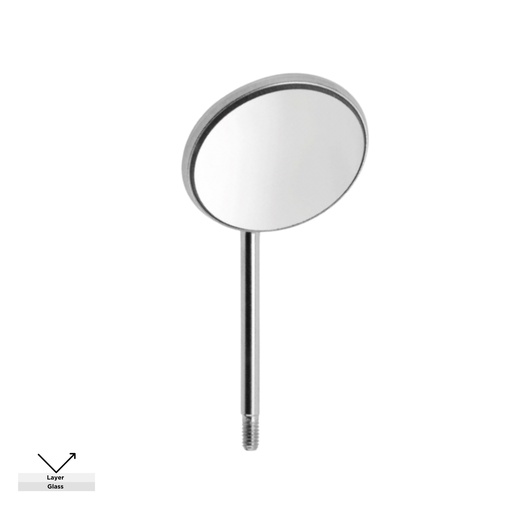 Front-surface mouth mirror No. 4Mouth mirrorReflects from the front surface, so no double image.View instrument →
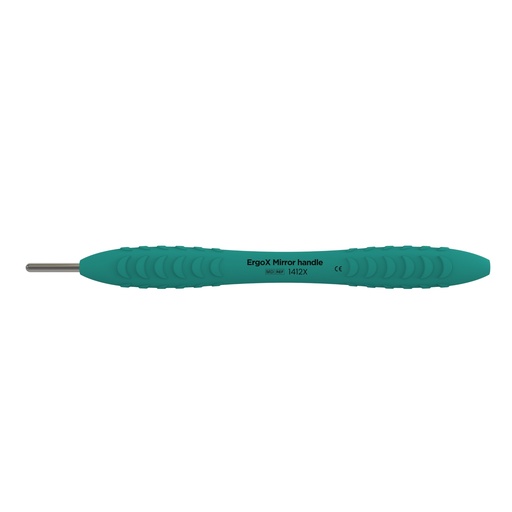 ErgoX® mirror handleCone-socket handleLight silicone handle in 15 colours.View instrument →
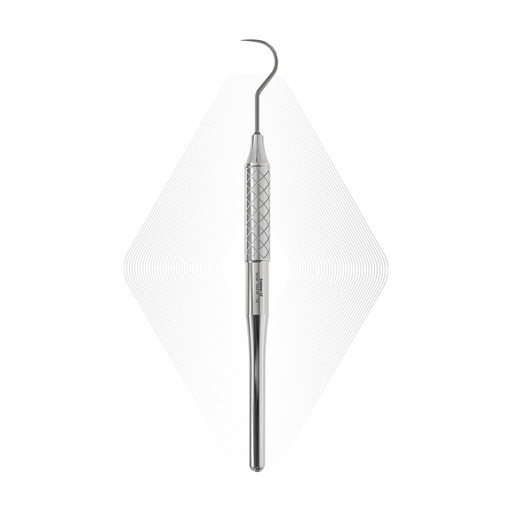 Explorer 23Shepherd hook explorerThe everyday caries and margin explorer.View instrument →
 North Carolina probe CP-15Periodontal probe1 mm markings to 15 mm.View instrument →
 Nabers probeFurcation probeCurved and blunt for furcations.View instrument →
 College tweezers, serratedDental tweezersAngled tips for pellets and small items.View instrument →
Tray 2
The local anaesthesia set-up
Small tray, big responsibility: the nurse assembles the syringe, loads the cartridge and manages the sharp.
| Item | What it does |
|---|---|
| Aspirating cartridge syringe | Holds the 1.8 ml cartridge; the plunger lets the dentist aspirate before injecting |
| Intraligamental (pen) syringe | Delivers a measured dose into the periodontal ligament for a single tooth |
| Needle | Single use; long for blocks, short for infiltrations |
| Cartridge | Glass or plastic, anaesthetic plus vasoconstrictor |
| Needle guard / syringe holder | Lets the needle be re-sheathed with one hand |



Tray 3
The rubber dam tray
Isolation for endodontics and adhesive restorations. The set-up is always the same five items; only the clamp changes with the tooth.
| Instrument | What it does |
|---|---|
| Rubber dam punch | Punches a clean hole in the dam sheet; the wheel sets the hole size |
| Clamp forceps | Opens the clamp and carries it to the tooth |
| Clamp | Grips the tooth at the cervical margin and holds the dam; numbered by tooth type |
| Frame | Stretches the dam away from the face |
| Dam stand / template | Marks where to punch and keeps the dam flat |
Clamp numbers are their own small language. Our guide to rubber dam clamp numbers decodes 8A, 12A, 14A, 26N and the rest.
 Ainsworth rubber dam punchDam punchFive hole sizes on the wheel.View instrument →
 Brewer clamp forcepsClamp forcepsCarries and seats the clamp.View instrument →
 Clamp 9Anterior clampFor incisors and canines.View instrument →
 Clamp 26NUpper molar clampWingless molar clamp.View instrument →
 Rubber dam standDam templateKeeps the dam flat while punching.View instrument →
Tray 4
The restorative tray (amalgam and composite)
The longest tray and the one with the most look-alikes. Learn it in the order the filling is done.
| Step | Instrument | What it does |
|---|---|---|
| Remove caries | Excavator (spoon, round) | Scoops soft dentine from the cavity |
| Refine the cavity | Hand cutting instruments (hatchet, chisel, gingival margin trimmer) | Planes enamel walls and bevels the margin |
| Place the matrix | Tofflemire retainer + band, or sectional matrix + ring | Rebuilds the missing wall so the filling has a shape |
| Carry and shape | Plastic filling instrument, spatula | Carries and adapts composite or lining |
| Pack | Plugger / condenser | Compresses the material into the cavity |
| Finish | Carver, burnisher, trimmer | Carves the anatomy and smooths the margins |
Swipe to see the full table →
Composite instruments are often non-stick coated so the resin does not drag: see our composite placement instruments guide and the Tofflemire matrix system explained.
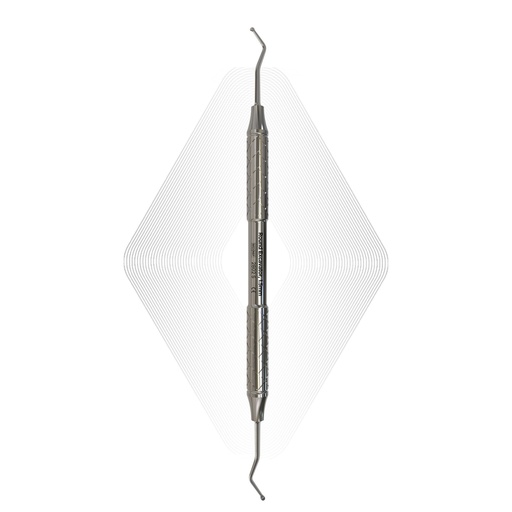 Round excavator 1.5 mmExcavatorRemoves soft caries.View instrument →
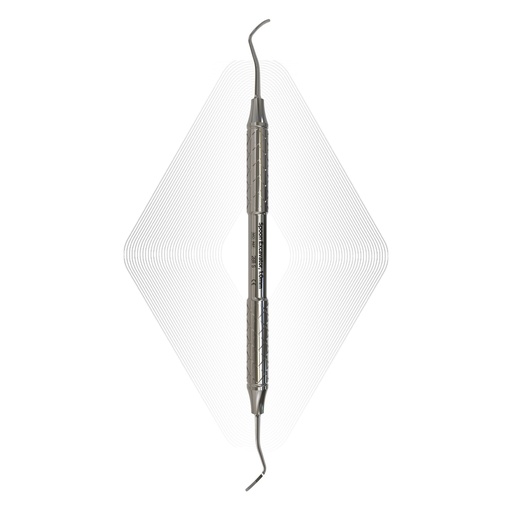 Spoon excavator 1.0 mmSpoon excavatorSmall cavities and deep dentine.View instrument →
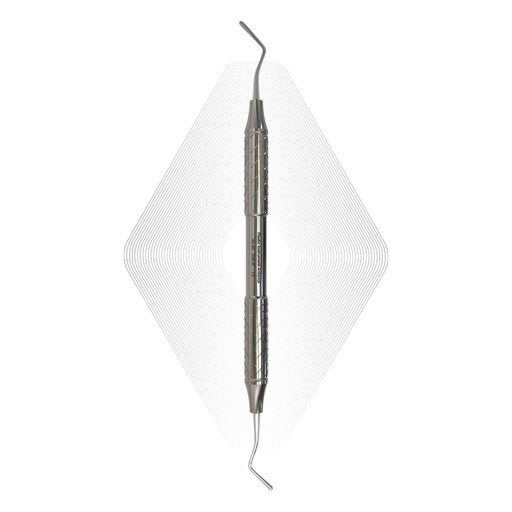 UP1 plastic filling instrumentPlastic instrumentCarries and adapts material.View instrument →
 Plugger 2.0–2.5 mmCondenserPacks the filling.View instrument →
 Amalgam condenser 1.0–1.5 mmAmalgam pluggerSerrated face for amalgam.View instrument →
 Composite trimmerFinishing instrumentShapes and trims composite.View instrument →
 Tofflemire retainer, JuniorMatrix retainerHolds the matrix band.View instrument →
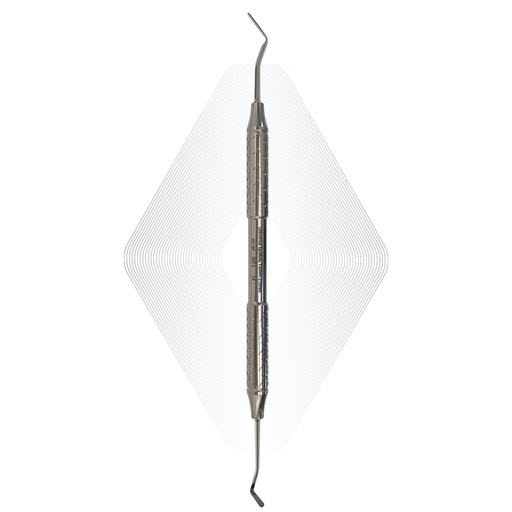 Universal spatulaMixing spatulaMixes cements and linings.View instrument →
Tray 5
The endodontic tray
Root canal treatment has its own explorer, its own tweezers and its own pluggers. The hand instruments find the canals, measure them and pack the filling; the files do the shaping.
| Instrument | What it does |
|---|---|
| Endodontic explorer (DG-16 type) | Locates the canal openings on the pulp chamber floor; longer and stiffer than a normal explorer |
| Hand files (K, H) and rotary files | Negotiate and shape the canal; sized by ISO number and colour |
| Endo ruler and stoppers | Set and mark the working length |
| Finger spreader | Pointed: pushes gutta-percha sideways for lateral condensation |
| Plugger | Flat-ended: packs gutta-percha down the canal |
| Locking endo tweezers | Hold paper points and gutta-percha cones without dropping them |
| File frame / endo block | Keeps files in order through use and sterilisation |
Spreader or plugger is the classic spotter question. The answer is in the tip: pointed spreads, flat plugs. More in endodontic instruments step by step.
 Root canal explorerEndo explorerFinds the canal orifices.View instrument →
 Spreader 0.6 & plugger 0.8Combination instrumentPointed end and flat end.View instrument →
 Endo plugger 0.5–1.0 mmPluggerVertical compaction.View instrument →
 Gutta-percha measuring rulerEndo rulerMeasures points and files.View instrument →
 Root canal file frame, 16 holesFile frameFiles stay in order.View instrument →
 Gutta-percha removerRetreatment instrumentHooks old gutta-percha out.View instrument →
Tray 6
The extraction tray
Three families, used in this order: something to cut the ligament, something to loosen the tooth, something to deliver it.
| Family | Examples | How to recognise it |
|---|---|---|
| Luxators and periotomes | Luxating elevator 2.5 / 4 mm, periotome | Thin, sharp, slightly concave blade; cuts the periodontal ligament |
| Elevators | Bein (straight), Cryer (left and right), Coupland | Thicker blade for leverage; Cryer is triangular and comes in pairs |
| Forceps, upper | Fig. 29/30S incisors, Fig. 7 premolars, Fig. 17/18 molars, Fig. 67A wisdom | Beaks in line with the handles, or bayonet for the back of the mouth |
| Forceps, lower | Fig. 33A incisors and premolars, Fig. 13 and 22 molars, Fig. 79 wisdom | Beaks at right angles to the handles |
| Root forceps | Fig. 51A, Fig. 74N | Narrow, fine beaks |
Molar forceps have a pointed beak that sits in the furcation between the roots. Upper molars come in a right and a left because the roots are not symmetrical. The full chart is in which forceps for which tooth.
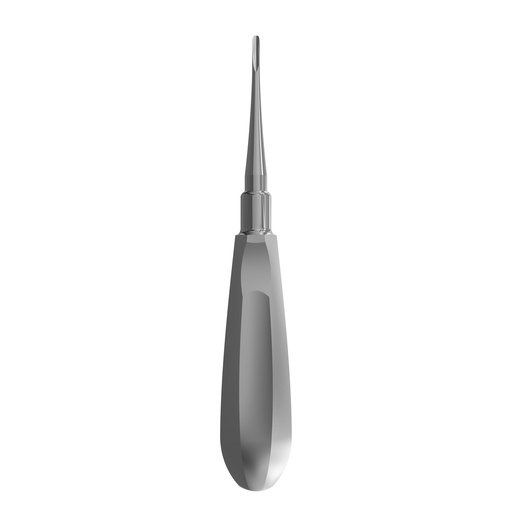 Luxating elevator, straight 2.5 mmLuxatorCuts the ligament with little force.View instrument →
 Bein root elevator Fig. 1Straight elevatorLoosens the tooth before the forceps.View instrument →
 Cryer root elevator, rightEast-West elevatorRemoves a root after its neighbour.View instrument →
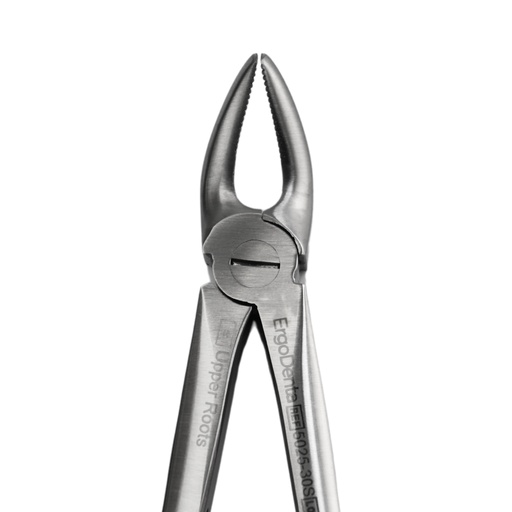 Forceps Fig. 30SUpper anterior forcepsIncisors and canines.View instrument →
 Forceps Fig. 17Upper right molar forcepsPointed buccal beak.View instrument →
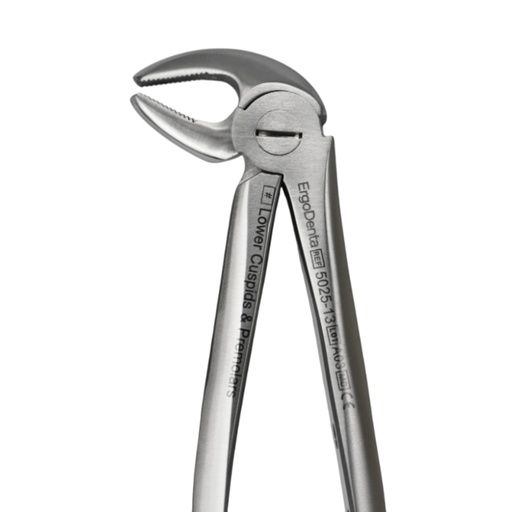 Forceps Fig. 13Lower premolar and molar forcepsBeaks at right angles.View instrument →
Tray 7
The minor oral surgery tray
Surgical extractions, apicectomies and implant surgery add instruments for soft tissue, bone and suturing on top of the extraction tray.
| Step | Instrument | What it does |
|---|---|---|
| Incision | Scalpel handle No. 3 + blade 15 | The cut |
| Raise the flap | Periosteal elevator (Molt, Freer) | Lifts gum and periosteum off the bone in one layer |
| Retract | Minnesota, Langenbeck, cheek retractor | Holds the flap, cheek and tongue out of the way |
| Bone and socket | Surgical curette (Lucas), bone file, rongeur | Cleans the socket and smooths sharp bone |
| Control bleeding | Mosquito / Pean haemostat | Clamps a small vessel |
| Close | Needle holder (Mathieu, Mayo-Hegar), suture scissors, tissue tweezers | Places and cuts the suture |
Swipe to see the full table →
 Scalpel handle No. 3Bard-Parker handleTakes blades 10 to 15c.View instrument →
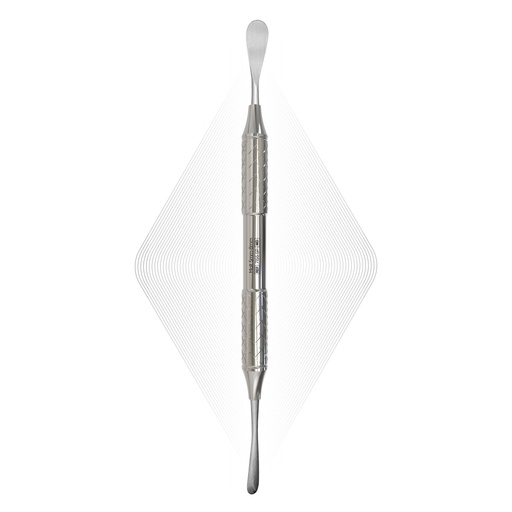 Periosteal elevator MoltFlap elevatorRaises the mucoperiosteal flap.View instrument →
 Cawood-Minnesota retractorCheek and flap retractorTwo working ends.View instrument →
 Langenbeck retractorTissue retractorHolds the flap away.View instrument →
 Lucas bone curette 85Surgical curetteClears the socket.View instrument →
 Howard bone fileBone fileSmooths bone edges.View instrument →
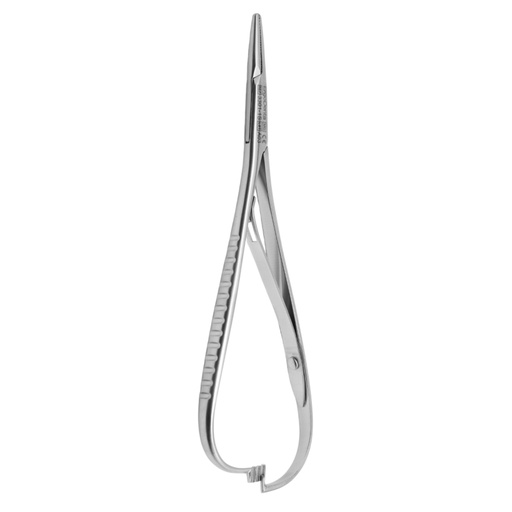 Mathieu needle holderSpring needle holderFast suturing with a palm grip.View instrument →
 Spencer suture scissorsStitch scissorsHooked blade slides under the suture.View instrument →
 Rochester-Pean forceps, curvedHaemostatClamps small vessels.View instrument →
After the procedure
Keeping each tray together
A tray only works if it comes back complete. Cassettes, trays and colour coding keep each set-up together from the chair through the washer, the autoclave and back.
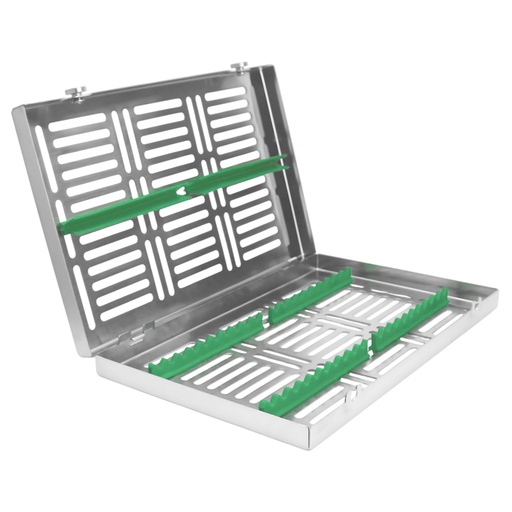 Sterilization cassette for 20Instrument cassetteOne procedure set per cassette.View instrument →
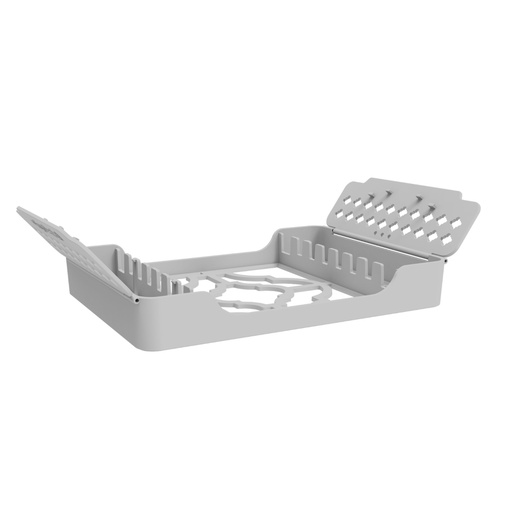 ErgoTray 8Chairside trayEight instruments in order of use.View instrument →
 Colour-code ringsInstrument markingOne colour per tray or clinician.View instrument →
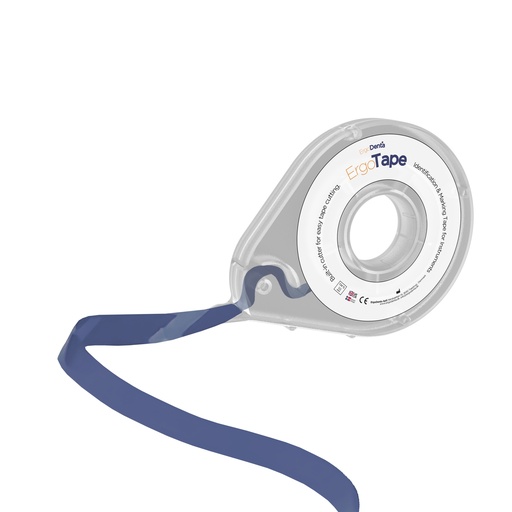 ErgoTapeColour-marking tapeAutoclavable marking tape.View instrument →
 Basic Diagnostic KitReady-made examination setMirror, explorer, probe and tweezers.View instrument →
Spotter self-test: name the instrument from the clue
Cover the right-hand column and work down the clues. Every answer is on one of the seven trays above.
| Clue | Answer |
|---|---|
| Blunt tip, 1 mm marks to 15 mm | North Carolina probe CP-15 |
| Sharp curved tip, number 23 | Explorer 23 (shepherd hook) |
| Angled serrated tips, carries cotton pellets | College tweezers |
| A wheel with five holes of different sizes | Rubber dam punch |
| Numbered 26N, no wings | Upper molar rubber dam clamp |
| Small round scoop on a thin shank | Spoon / round excavator |
| Serrated flat face, used after the amalgam carrier | Amalgam condenser |
| Metal frame with a spindle and nut that holds a band | Tofflemire matrix retainer |
| Long, stiff explorer with two fine angled tips | Endodontic explorer (DG-16 type) |
| Pointed, tapered endo tip | Finger spreader |
| Triangular blade, comes as a right and a left | Cryer elevator |
| Beaks at right angles to the handle, pointed beak both sides | Lower molar forceps Fig. 22 |
| Spring handle, ratchet at the end, held in the palm | Mathieu needle holder |
| Scissors with a small hook on one blade | Spencer suture scissors |
Build the trays with ErgoDenta
Every instrument in this guide is in the ErgoDenta range, on ErgoX ergonomic silicone handles or ErgoSteel, with ready-made kits for the examination, perio and surgery trays.
Questions
Frequently asked questions
What are the basic dental instruments a dental nurse must know?
The examination set first: mouth mirror and handle, explorer (probe 23), periodontal probe and college tweezers. Then the instruments of the restorative, rubber dam, endodontic, extraction and minor oral surgery trays, which this guide covers tray by tray.
How do you identify a dental instrument?
Look at the three parts: handle, shank and working end. The working end tells you the family (scoop = excavator, sharp point = explorer, blunt marked tip = probe, beaks = forceps), the shank tells you where it reaches, and the number tells you the size, side or marking within the family.
What is on a basic dental examination tray?
A mouth mirror on its handle, an explorer, a periodontal probe and college tweezers, plus a saliva ejector, air/water syringe tip and cotton rolls. A Nabers probe is added when furcations need checking.
What is the difference between a spreader and a plugger in endodontics?
A spreader has a pointed, tapered tip and pushes gutta-percha sideways for lateral condensation. A plugger has a flat end and packs gutta-percha down the canal for vertical compaction.
Which instruments are needed for a simple tooth extraction?
A luxator or periotome to cut the periodontal ligament, a straight elevator such as a Bein to loosen the tooth, the forceps pattern for that tooth (for example Fig. 17 for an upper right molar or Fig. 13 for a lower premolar), and a surgical curette for the socket.
Why learn dental instruments by procedure instead of alphabetically?
Because that is how they are set out and asked for. Learning by tray links each instrument to the step it is used in, which is easier to remember than a list and is exactly what instrument spotter exams test.
Sources
- Scheller C. Basic Guide to Dental Instruments. Blackwell Munksgaard, 2006 (the standard illustrated study aid for dental nurse training).
- National Examining Board for Dental Nurses (NEBDN). Diploma in Dental Nursing syllabus: instrument identification.
- Black GV. Operative Dentistry, 1908: instrument nomenclature and formula.