A practical restorative workflow
A good restoration is not created with one perfect instrument. It is built through a sequence of controlled steps: isolation, preparation, placement, adaptation, contouring and finishing.
Your restorative tray should follow the same logic. For this guide, we reviewed confirmed ErgoDenta ordering patterns from January through August 2026 and balanced repeat selection with each instrument's role at chairside. The result is a practical group of 15 instruments—not simply a bestseller list.
In one line: isolate → prepare → place → adapt → contour → finish.
Stage 1
Begin before the restorative material is opened
Reliable access begins with a controlled working field. The first instruments on the tray prepare and place the rubber dam, followed by the matrix system that creates the missing wall.
Ainsworth Rubber Dam Punch, 17 cm
The punch creates selectable holes in the dam sheet. A clean opening makes the dam easier to position and less likely to tear while it is being fitted.
Brewer Rubber Dam Clamp Forceps
Once the dam is prepared, the clamp must be placed and removed with control. Brewer is a familiar pattern, while Ivory, Stokes and other designs allow clinicians to choose the feel and access they prefer.
12A Lower Molar Rubber Dam Clamp
The 12A was among the repeatedly selected clamps in the 2026 data. It is included as a useful lower-molar example, not a universal choice: clamp selection should match the individual tooth, anatomy and retention required.
Tofflemire Universal Matrix Retainer
For many posterior and multi-surface restorations, the retainer holds a circumferential matrix band around the tooth and gives the material a wall against which it can be adapted. Sectional matrices remain a valuable alternative for other Class II situations.
 Ainsworth Dam PunchPrepare the damView instrument →
 Brewer Clamp ForcepsPlace and remove clampsView instrument →
 12A Lower Molar ClampTooth-specific isolationView instrument →
 Tofflemire UniversalEstablish the missing wallView instrument →
 Round Excavator 1.5 mmControlled preparationView instrument →
Stage 2
Prepare with tactile control
With isolation and the matrix plan in place, the focus moves to controlled preparation. The instrument should be proportionate to the area being treated and comfortable enough for small, deliberate movements.
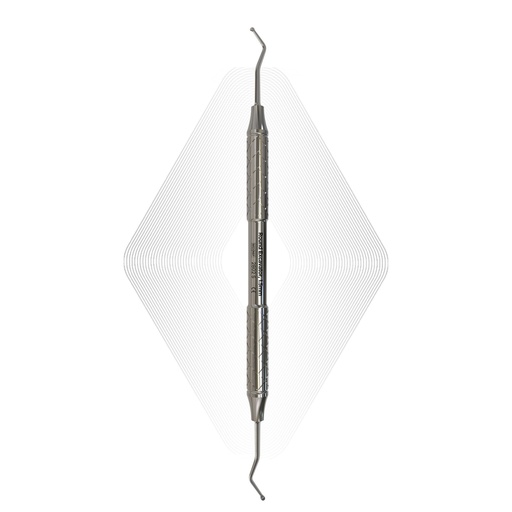
Round Excavator, 1.5 mm
The rounded working ends make this a versatile choice for manual excavation and cavity refinement. The 1.5 mm version was one of the most consistently reordered restorative instruments in the analysis; neighbouring sizes can be added according to the preparations commonly treated.
Begin with the instruments that cover the work performed every day. Add action excavators, cord packers, sectional matrix systems and further clamp sizes when the clinical need is clear.
Stage 3
Move the material without fighting it
Once the preparation is ready, the working end should carry, place and adapt the restorative material without requiring unnecessary correction.
Mini Spatula, 2.0–2.0 mm
The compact working ends are useful for mixing and placing small amounts of cement, liner or composite. It is a practical first instrument when access is limited or the material must be moved in controlled portions.
Filling Applicator, 1.5 mm
The applicator provides a finer working profile for focused placement and shaping. It complements the mini spatula: one handles the broader movement of material, while the other supports more local control.
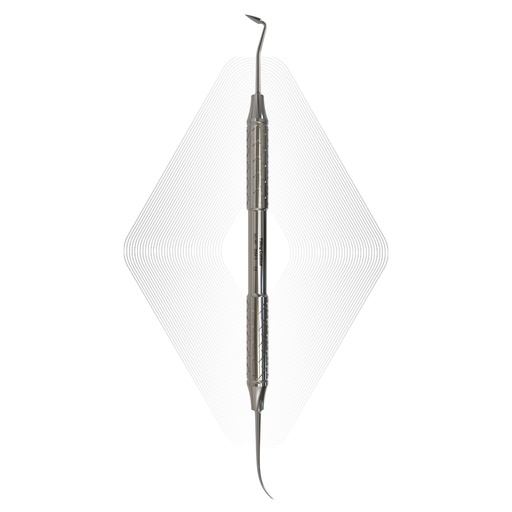
Filling Contour, 2.0 mm
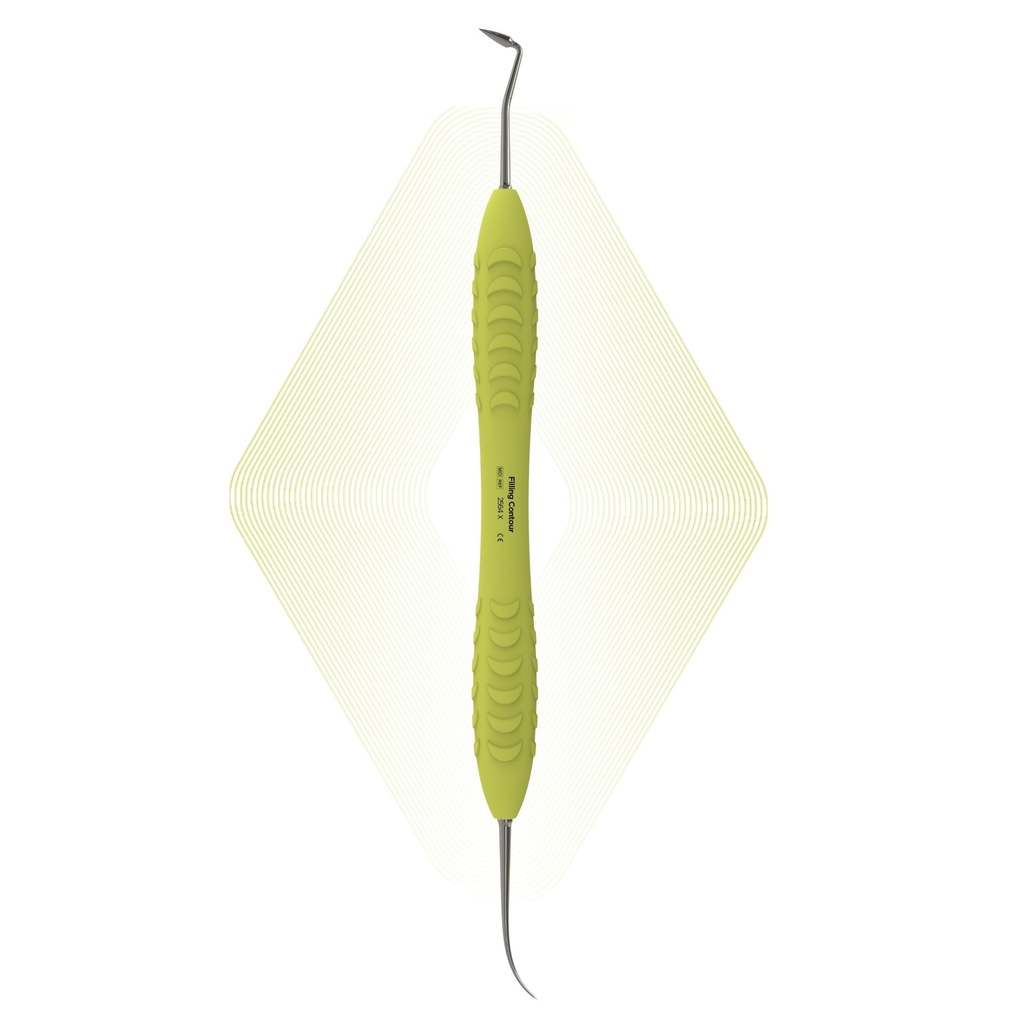
This instrument had the broadest repeat-order reach within the restorative selection. It moves naturally from placement into early contouring, making it a useful bridge between adding material and establishing the initial form.
Filling Contour Spatula, 2533
A second contouring profile gives the clinician another working angle instead of asking one instrument to perform every task. The 2533 is a useful companion when a different blade form or more delicate manipulation is preferred.
 Mini Spatula 2.0 mmMix and place materialView instrument →
 Filling Applicator 1.5 mmFocused placementView instrument →
 Filling Contour 2.0 mmPlace and establish formView instrument →
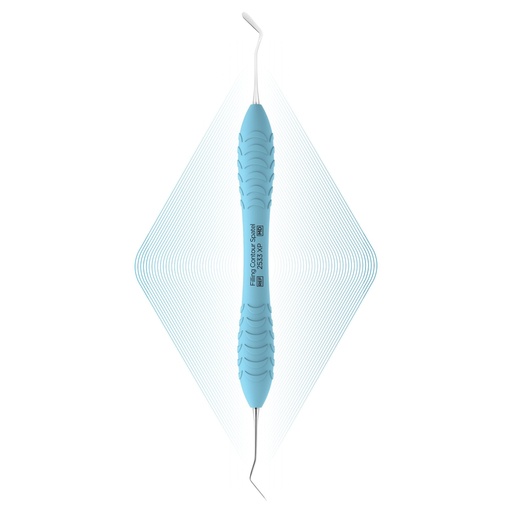 Contour Spatula 2533Alternative blade profileView instrument →
 Plastic Instrument—AnteriorAnterior shapingView instrument →
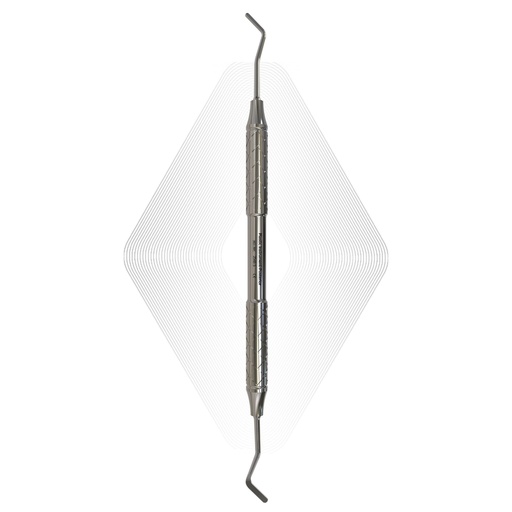 Plastic Instrument—PosteriorPosterior contouringView instrument →
Stage 4
Move from placement to anatomy
After the material has been placed, the objective changes. The instrument is no longer simply carrying composite; it is beginning to create the final form.
Plastic Instrument—Anterior, 1.2–1.7 mm
The narrower profile supports controlled placement and contouring across smaller anterior surfaces and transitions. Its role is different from that of a posterior instrument, even when both sit next to each other on the tray.
Plastic Instrument—Posterior, 1.4–2.0 mm
The broader working form is designed for posterior placement and contouring. Keeping anterior and posterior patterns available lets the geometry of the instrument follow the region being restored.
Stage 5
Adapt, smooth and finish
The final instruments complete the transition from placed material to a defined restoration. The movements become smaller, and each working end has a more specific role.
Filling Condenser, 0.7–1.4 mm
Two compact working sizes support focused adaptation in smaller preparations. The instrument is useful when controlled pressure is required without introducing an unnecessarily large working end.
Ball-Ended Burnisher & Plugger, 1.5–2.5 mm
The plugger supports adaptation; the rounded burnisher smooths and refines the surface. Combining the two related functions makes this one of the most practical double-ended instruments in a restorative setup.
Nyström I Carver, 2 mm
The carver helps define anatomy and remove excess material before the final finishing stage. A familiar, predictable profile means less time is spent changing instruments while the restoration is being shaped.
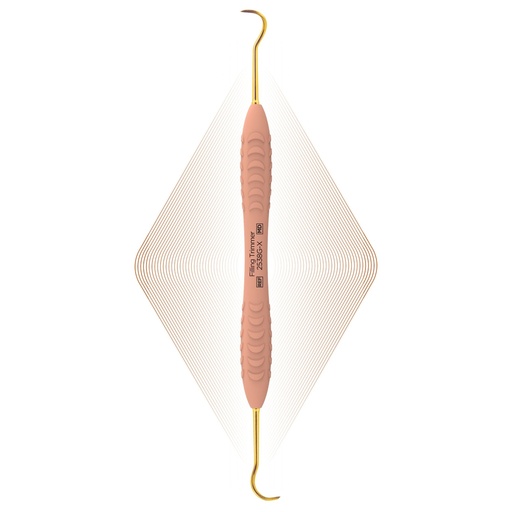
Filling Trimmer Gold
At the end of the sequence, large movements are no longer needed. The trimmer supports controlled refinement of contour and small excesses as the restoration moves toward its final form.




Handle choice
Which handle was selected most often in 2026?
Across confirmed ErgoDenta orders through August 2026, ErgoX was the most-selected handle by both repeat-order reach and delivered volume. That makes it a sensible starting point, although handle preference remains personal.
The most widely selected all-round option in the 2026 ordering pattern.
ErgoX Plus13.7 mmA larger grip for clinicians who prefer more handle volume.
ErgoLite X11.5 mmA lightweight alternative designed for comfortable everyday handling.
ErgoSteel SP9.5 mmA traditional steel handle with a firm, balanced feel.
Ordering patterns show what customers selected; they are not a formal clinical preference survey. Compare the complete ErgoHandles range and choose the grip that fits your hand and working style.
The practical takeaway
Build a tray, not a crowded drawer
A useful restorative setup is not the one with the greatest number of instruments. It is the one in which every instrument has a clear purpose and appears in the order it is normally needed.
Isolate → prepare → place → adapt → contour → finish.
Start with the core workflow. Add further excavator sizes, clamp patterns, cord packers and matrix systems according to the procedures performed in your clinic.
This article is an instrument-selection guide and does not replace product instructions, local reprocessing requirements or clinical judgement.
Questions from the restorative tray
Frequently asked questions
What are the essential instruments for composite restorations?
A balanced setup normally includes isolation instruments, a matrix system, an excavator, placement spatulas, anterior and posterior plastic instruments, a condenser, a burnisher or plugger, a carver and a finishing instrument. The exact selection should reflect the procedures carried out in the clinic.
Which instrument is best for placing composite?
There is no single best instrument for every situation. A mini spatula carries and moves material, while a finer filling applicator offers more focused control. Anterior and posterior plastic instruments help create region-specific contours.
Do I need non-stick composite instruments?
Non-stick working ends are designed to reduce material pull-back during placement and contouring. The best choice depends on the restorative material, working technique and condition of the instrument surface.
Which ErgoDenta handle was selected most often?
ErgoX was the most-selected handle in confirmed ErgoDenta orders from January through August 2026. ErgoX Plus and ErgoLite X are alternatives for clinicians who prefer a larger or lighter grip.
Should a restorative tray include both anterior and posterior plastic instruments?
They provide different working geometries. An anterior pattern supports smaller surfaces and transitions, while a posterior pattern provides a broader working form for posterior placement and contouring.
Are ErgoDenta restorative instruments autoclavable?
The reusable instruments linked in this guide are listed as fully autoclavable and supplied non-sterile. Follow the applicable product instructions and the ErgoDenta reprocessing guidance before first use and after each procedure.