
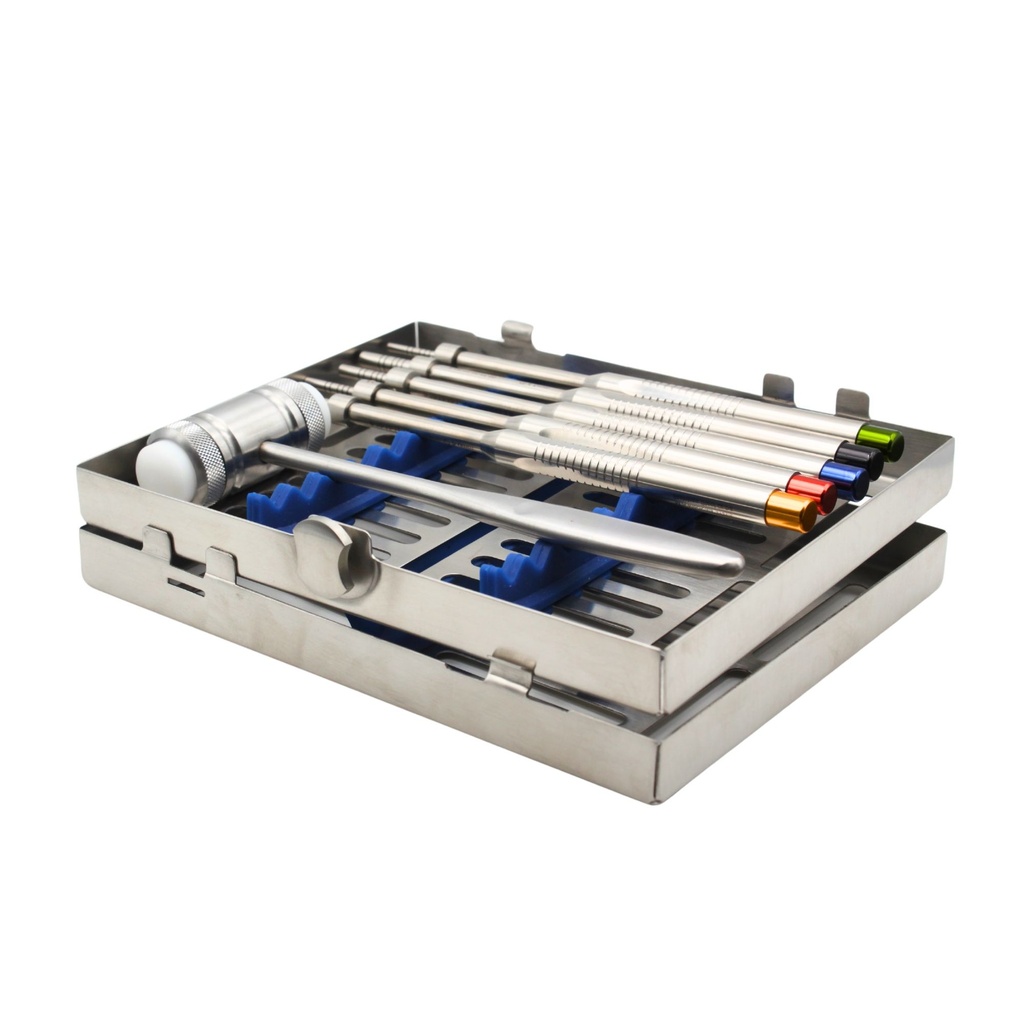
Sinus lift instruments & osteotomes — crestal approach, membrane elevation and bone condensing
Predictable sinus augmentation is mostly about protecting one thin structure — the Schneiderian membrane — while gaining the bone height an implant needs. That comes down to two instrument families: osteotomes that condense and lift bone, and sinus lift elevators shaped to reach every wall of the antrum. This guide explains how they work together across the crestal and lateral approaches.
TL;DR
A crestal sinus lift uses graduated, depth-marked osteotomes to condense bone and gently in-fracture the floor, then fine membrane elevators to lift the Schneiderian membrane. The lateral window approach elevates the membrane directly for larger gains. Angled, curved and offset tips let one set reach every wall so the membrane lifts evenly — the key to avoiding perforation.
Two families, one goal
Whatever the approach, sinus augmentation asks two things of your instruments: manage the bone and manage the membrane. Osteotomes do the first — condensing a soft ridge and pushing bone apically. Sinus lift elevators do the second — separating and raising the membrane from the bony floor and walls without tearing it.
Osteotomes — condensing, not cutting
An osteotome densifies bone instead of drilling it away. A graduated, depth-marked set (straight and offset) lets you widen a narrow ridge, preserve bone volume, and — in the crestal technique — lift the sinus floor a controlled few millimetres through the implant osteotomy. ErgoDenta supplies straight and offset osteotomes as sets of five with a hammer and cassette, ready for the tray.
Depth marks matter. Crestal sinus lifting is a millimetre business. Graduations on the osteotome let you feel and see how far the floor has moved, so you condense and lift in controlled increments rather than by feel alone.
Sinus lift elevators — reaching every wall
The maxillary sinus is a curved cavity reached through a small window, so a single tip cannot lift the membrane evenly. Straight, curved, offset and contra-angle elevators — plus a depth-marked mushroom tip — address the mesial, distal, anterior and far walls in turn. Lifting a little on every wall before advancing is what keeps the membrane intact.
The range
Blue titanium-coated versions are available for work close to implant surfaces — see Blue Titanium: Implant-Safe Instruments. The wider implant hand-instrument set is covered in Implant Surgery Hand Instruments.
Technique in brief
For the crestal approach: prepare the osteotomy short of the floor, then condense apically with graduated osteotomes and gentle mallet taps until the floor greensticks, place graft, and confirm the membrane is intact before the implant. For the lateral window: outline and infracture the window, then elevate the membrane off the floor and all walls with matched tips before grafting. In both, the elevator stays in contact with bone, edge to the wall — never pressed into the membrane.
Frequently asked questions
What instruments are used for a sinus lift?
What is the difference between the crestal and lateral sinus lift approach?
What are osteotomes used for?
Why are sinus lift instruments angled and offset?
How do you avoid perforating the Schneiderian membrane?
Are ErgoDenta sinus lift instruments and osteotomes autoclavable and implant-safe?
Everything for a predictable sinus lift
Graduated osteotome sets with hammer and cassette, and matched membrane elevators for every wall of the antrum — steel and titanium-coated. CE-marked, shipped from Denmark.