
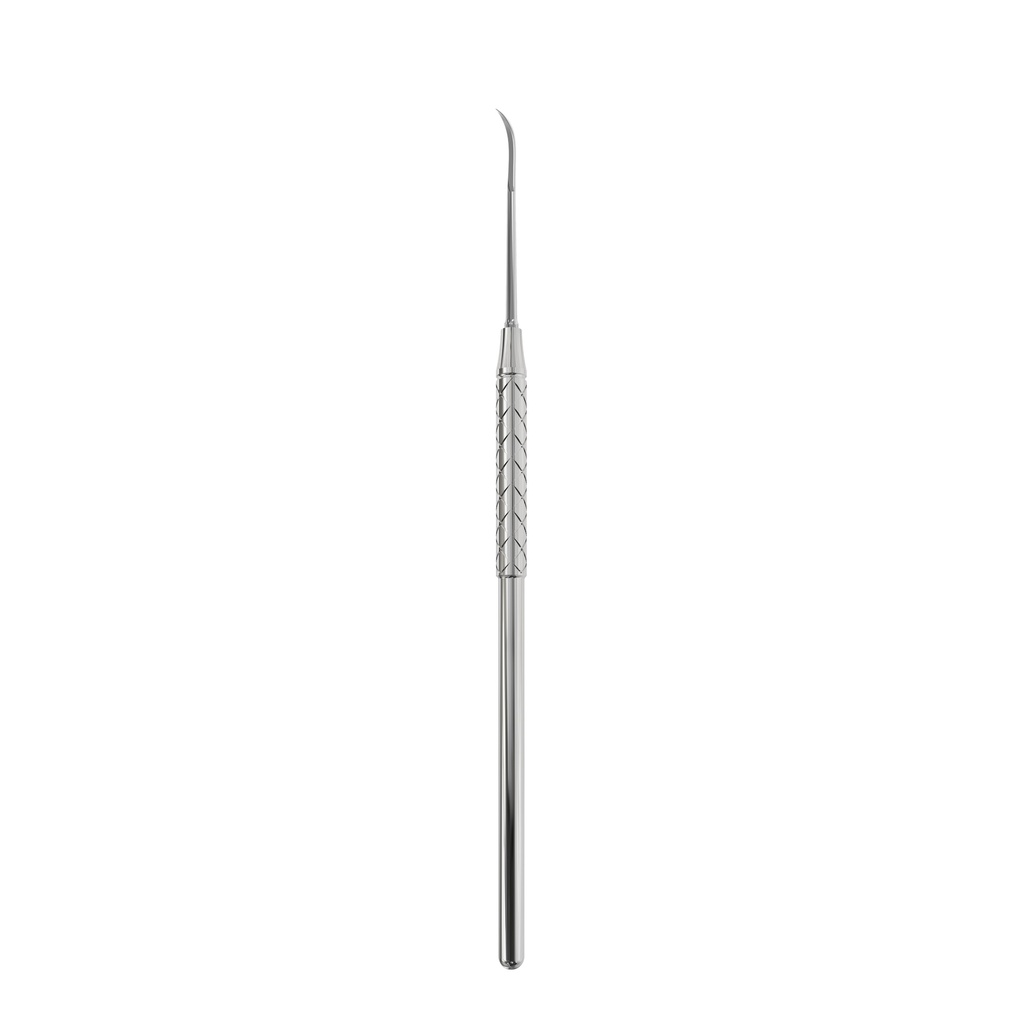
Root tip elevators — Heidbrink straight, right & left, and removing fractured roots cleanly
A retained root tip is the moment a routine extraction becomes a surgical one. The right root tip elevator — a fine, sharp blade that reaches the apical third — is often the difference between a two-minute delivery and a raised flap. This guide covers the Heidbrink pattern (straight, mesial and distal), how the sizes differ, a safe purchase-point technique, and when to escalate.
TL;DR
Use a root tip elevator for small retained or fractured fragments a standard elevator can't engage. The Heidbrink set gives you a straight (Fig. 1) plus mirror-image right (Fig. 2) and left (Fig. 3) blades in 1.5 mm and 2.5 mm, so you can apply controlled force from the mesial or distal without levering on the buccal plate. Work with a purchase point and minimal apical pressure — and switch to Stieglitz forceps or a surgical window if the tip won't move.
What a root tip elevator is — and isn't
A root tip elevator is a thin instrument with a sharp, spade- or spear-shaped working end designed to engage small fragments in the depth of the socket. It is not a luxator and not a Coupland: those wedge and rotate a whole tooth or a large root. A root tip elevator instead finds a purchase point on a small fragment and teases it out along the periodontal ligament space with very little force.
Two things make a root tip elevator work. A fine, sharp blade that fits the apical socket without crushing the fragment, and a controlled fulcrum — the interseptal or buccal bone — so force is delivered to the root tip, not to the cortical plate. The moment you find yourself pushing hard, the instrument or the approach is wrong.
The Heidbrink pattern — straight, right and left
The Heidbrink root tip elevators come as a three-part set, and the logic is geometric. The straight (Fig. 1) works fragments you can reach head-on and apically. The right (Fig. 2) and left (Fig. 3) are mirror-image angled blades: one addresses the mesial aspect of the socket, the other the distal, so whichever side the fragment sits on, you can engage it with the blade angle working for you rather than against the buccal plate.
| Instrument | Blade | Best for |
|---|---|---|
| 6220 S — Straight, 1.5 mm | Fig. 1, fine | Accessible apical fragments, narrow sockets |
| 6221 S — Right, 1.5 mm | Fig. 2, angled | Mesial aspect of the socket |
| 6222 S — Left, 1.5 mm | Fig. 3, angled | Distal aspect of the socket |
| 6223 S — Straight, 2.5 mm | wider | Larger fragments, molar sockets |
| 6224 S / 6225 S — Right / Left, 2.5 mm | angled, wider | Mesial / distal in wider sockets |
Alongside the classic steel Heidbrink set, ErgoDenta offers the same geometry on the lightweight ErgoX® handle and in titanium-coated (blue) versions for implant-adjacent work.
A safe purchase-point technique
The reliable sequence is the same every time: see the fragment (good light, suction, irrigation), find or create a purchase point, engage the tip with the fine blade using bone as the fulcrum, and deliver along the path of least resistance. Small, deliberate movements beat force. Keep the non-working hand supporting the alveolus, and stay aware of what sits beyond the apex.
Respect the anatomy. In the upper posterior, heavy apical pressure risks displacing a fragment into the maxillary sinus; in the lower posterior, the inferior alveolar canal. If a tip is being pushed rather than delivered, stop and reassess the approach.
When to escalate
Not every fragment comes out with an elevator, and knowing when to change tools is a skill in itself. A visible, loose fragment is often better grasped with fine Stieglitz forceps. A truly retained or displaced tip usually calls for a small surgical window with irrigation and a bone file to finish the socket. The wider extraction sequence — luxators, periotomes and elevators — is covered in the Atraumatic Extraction Toolkit.
Frequently asked questions
What is a root tip elevator used for?
What is the difference between a Heidbrink straight, right and left?
Root tip elevator vs a standard dental elevator — what's the difference?
How do you remove a fractured root tip without damaging the bone?
When should I switch from an elevator to Stieglitz forceps or a surgical flap?
Are ErgoDenta root tip elevators autoclavable?
The right blade for every retained root
Heidbrink straight, mesial and distal patterns in 1.5 mm and 2.5 mm — steel, titanium-coated and ErgoX®. CE-marked, shipped from Denmark.