
Two instruments finish every classical root canal obturation — and they are constantly confused. The spreader makes room beside gutta-percha; the plugger presses down on it. Mix them up and you get voids, or worse, a vertical root fracture.
TL;DR
Spreader = pointed tip, used with lateral pressure to create space for accessory cones (lateral condensation). Plugger = flat-ended tip, used with vertical pressure to compact warm gutta-percha (vertical condensation). Pointed = beside; flat = on top.
Side by side
| Endo Spreader | Endo Plugger | |
|---|---|---|
| Tip | Pointed, tapered | Flat or slightly domed end |
| Motion | Apical + lateral, rotated on withdrawal | Straight vertical packing strokes |
| Technique | Cold lateral condensation | Warm vertical condensation, backfill packing |
| Goal | Space for the next accessory cone | Dense, void-free apical and coronal fill |
| Risk when misused | Wedging forces → vertical root fracture | Poor length control → extrusion |
Lateral condensation in four strokes
- Seat the master cone with tug-back at working length.
- Insert the spreader to 1–2 mm short of working length beside the cone with gentle apical pressure — finger pressure only.
- Rotate the spreader through 180° and withdraw; immediately place an accessory cone in the space.
- Repeat until the spreader penetrates no more than 2–3 mm. Sear off and pack the coronal mass with a plugger.
ErgoDenta spreaders & pluggers
Double-ended combinations put both functions on one ergonomic handle:



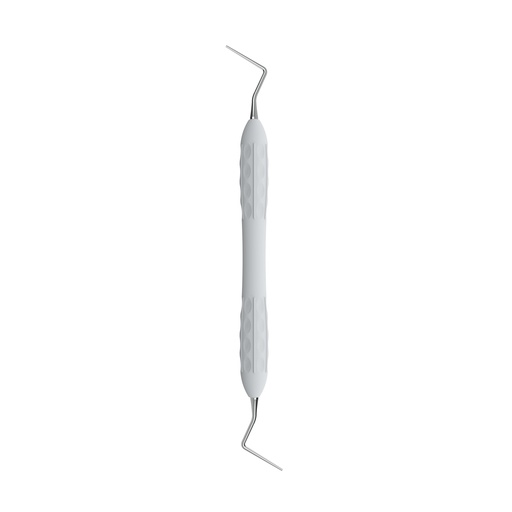
Sizes follow tip diameter in millimetres — match the spreader to your accessory cone size (a spreader one size larger than the cone leaves voids).
Frequently asked questions
Can I use a plugger for lateral condensation?
No — its flat end cannot slide beside the master cone and will simply push it apically, risking extrusion.
Finger spreader vs hand (long-handled) spreader?
Finger spreaders generate lower wedging forces and reduce fracture risk — the evidence favours them for routine lateral condensation. Long-handled spreaders suit posterior access problems.
What size spreader should I start with?
Match your accessory cones: 0.4 mm spreaders pair with size B/25 accessory cones in most systems. Verify it reaches within 1–2 mm of working length in the prepared canal before obturating.
How do I avoid vertical root fracture?
Finger pressure only, never palm force; keep the spreader passive against canal walls; and stop adding cones when penetration is under 3 mm.
Related reading
Build your dental instrument range with ErgoDenta
3,300+ instruments with Danish-inspired ergonomic design. One supplier. Full documentation. Ready to ship from Denmark.